
Strawberry Mochi (Ms Shi and Mr He Inspired Pink Mochi)

Soft, pillowy pink mochi filled with stabilized whipped cream and strawberry jam. Learn the tips that keep the skin chewy and the filling stable for picture perfect results.
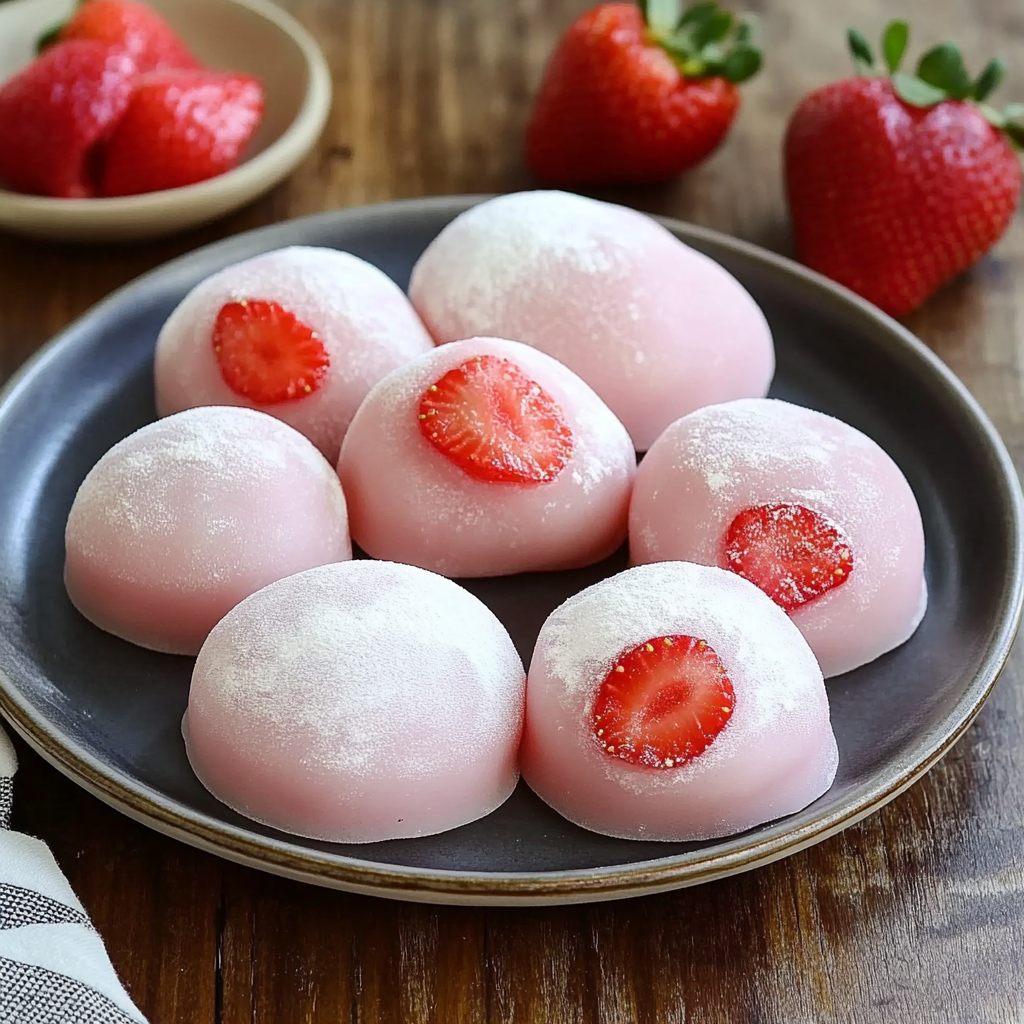
This recipe answers three requests I kept hearing from readers: make something pink, make something with strawberries, and make mochi. I first developed this version on a rainy afternoon when I had a basket of strawberries and a craving for something soft, sweet, and slightly nostalgic. The color comes from fresh berries rather than food coloring, so it tastes like strawberries, not artificial dye. The texture is what makes it memorable. The skin is tender and elastic, and it stays soft for days when made with a small butter addition. The filling is a stabilized whipped cream combined with jam, so each bite is creamy without collapsing.
I remember the first time I served these to friends. We took them out of the freezer, let them sit for 20 minutes, and their faces lit up when the first pillowy mochi revealed a glossy dollop of strawberry cream inside. It felt like sharing a small piece of celebration. This version has a few tricks I learned through trial and error, including toasting a portion of the sweet rice flour to keep the surface easy to handle and using a chilled, stabilized cream so your mochi holds a round, photogenic shape.
Why You'll Love This Recipe
- Uses fresh strawberries blended into the dough so the pink hue and flavor are natural, not from artificial color.
- Ready with about 10 minutes of active prep and a 50 minute cooking window, plus 20 minutes in the freezer for best texture, so total time is just over one hour.
- Filling is stabilized whipped cream with jam, which means the center stays creamy and supports the soft skin without melting immediately.
- Small butter addition in the dough keeps the skin soft after refrigeration, a technique that prevents dryness when you make them ahead.
- Recipe uses pantry staples such as sweet rice flour and cornstarch and is easy to scale for parties or gifting.
In practice this is a crowd pleaser. I often make a double batch for gatherings. Leftovers store well in the freezer, and friends who were hesitant about mochi have told me this is their favorite because it is not overly sweet and has a pleasant strawberry burst in every bite.
Ingredients
- For the skin, fresh strawberries: Use about a half cup of diced strawberries that are ripe but firm. Overripe fruit makes the dough too wet. I like using small local berries when available, or a pint from a reliable brand in cooler months. The fresh fruit is what gives the natural pink color and bright aroma.
- Milk: About one third cup plus two teaspoons of milk or plant milk. Oat milk works especially well because it adds slight creaminess and a neutral taste, mirroring the original maker's preference. Use whole milk for a richer result.
- Sugar for the dough: Around three tablespoons of granulated sugar to balance the tartness and help the dough brown slightly when toasted. Adjust to taste if your strawberries are very sweet.
- Sweet rice flour (glutinous rice flour): I recommend a brand like Mochiko or any labeled sweet rice flour. Use three quarters cup plus two tablespoons for the dough and keep an extra half cup for dusting. This flour gives the characteristic chew.
- Cornstarch: Four tablespoons mixed into the dough helps with structure and gives a delicate mouthfeel compared with using only rice flour.
- Unsalted butter: One and a half tablespoons added after cooking the dough makes the skin supple and prevents it from hardening in the fridge. Coconut oil works as a substitute for a dairy free option.
- For the filling: Two thirds cup heavy whipping cream whipped with one tablespoon plus one teaspoon of sugar until stiff peaks form, chilled. Add four tablespoons of strawberry jam for a bright, spreadable center. You can also use small diced fresh fruit, ice cream, or red bean paste.
- Extra for handling: Half cup extra sweet rice flour for dusting so the dough does not stick to surfaces or hands.
Instructions
Toast part of the flour:Start by toasting fifty grams worth of sweet rice flour in a dry pan over medium heat for about five minutes while whisking constantly until it smells like popcorn. This toasted flour is used for dusting later and prevents excessive stickiness. Spread it on a plate to cool so it does not clump.Whip the filling:Add the sugar to the cream, then beat with a hand mixer or stand mixer until stiff peaks form. For best stability, chill the bowl and beaters beforehand and, if desired, stabilize with gelatin following a stabilized whipped cream technique so the filling holds shape when frozen.Mix the dough base:In a microwave safe container combine three quarter cup plus two tablespoons sweet rice flour and four tablespoons cornstarch. In a blender place half cup diced strawberries, one third cup plus two teaspoons milk, and three tablespoons sugar. Blend until completely smooth so there are no seeds or large fruit pieces that could interfere with the dough texture.Combine and cook the dough:Pour the strawberry milk into the flour mixture and stir until it reaches a thick yogurt like texture. Cover with microwave safe wrap, poke several small holes with a toothpick to release steam, and microwave for three minutes. Check the texture by inserting a toothpick. If the tip is sticky or wet, rewrap and microwave in thirty second increments until the toothpick comes out dry. Alternatively steam over high heat for thirty minutes for a gentler cook.Finish and knead:Top the hot dough with one and a half tablespoons butter. When the butter melts use lightly buttered hands or food safe gloves and knead in the container until fully absorbed. Continue kneading for about five minutes until the dough can be stretched to about ten inches without tearing. This stretch indicates a well developed, elastic texture.Portion and fill:Transfer the dough to a silicone mat dusted generously with toasted rice flour. Divide into eight equal pieces, about one ounce each. Flatten each portion into a four inch circle and place versus a small ladle or bowl for shaping. Spoon about two tablespoons of chilled whipped cream and one tablespoon of jam into the center, then gather and seal the edges firmly to enclose the filling.Chill and serve:Place finished pieces in the freezer for twenty minutes to firm the filling and set the shape, then serve at room temperature after a short thaw so the skin is soft and the center is creamy.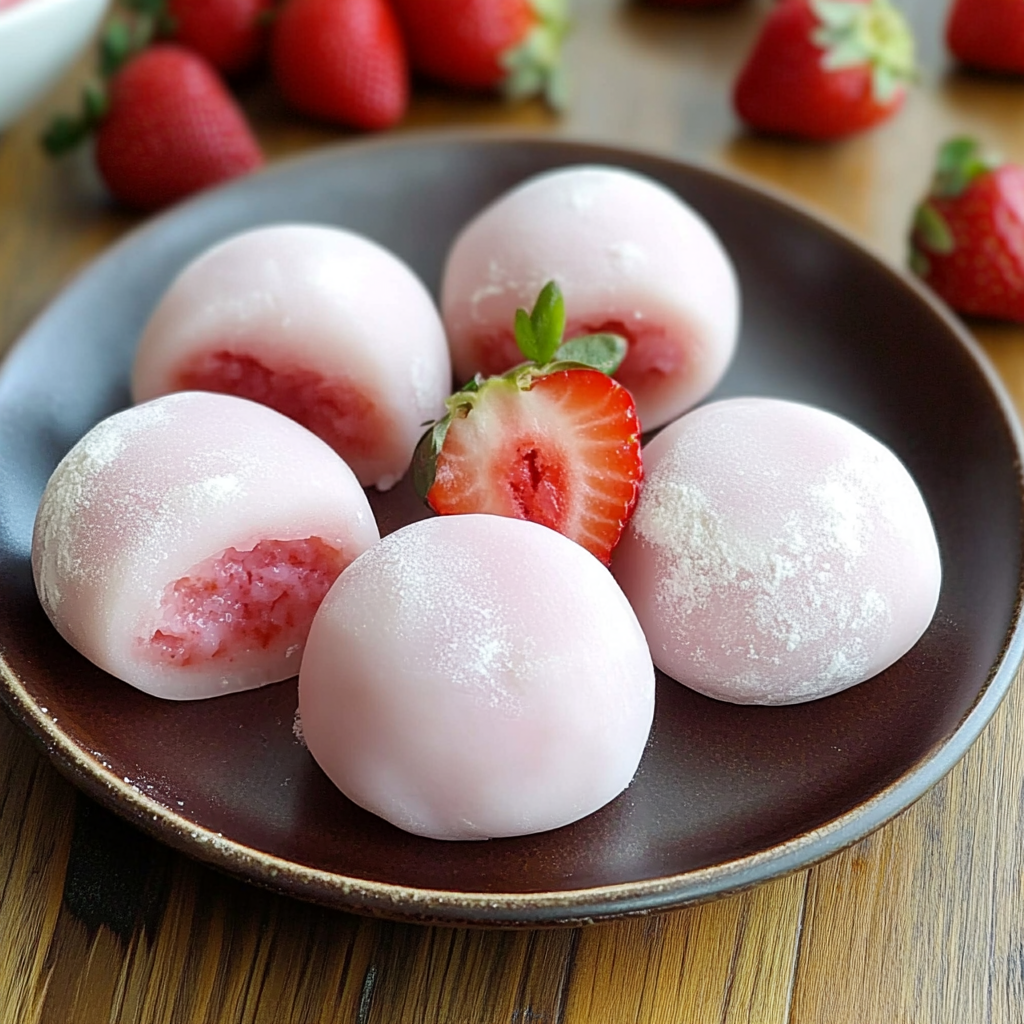
You Must Know
- These keep in the freezer up to seven days and thaw beautifully at room temperature for about twenty minutes.
- The small butter addition keeps the skin soft for up to two days in the refrigerator and prevents dryness without changing flavor; coconut oil can be used for dairy free needs.
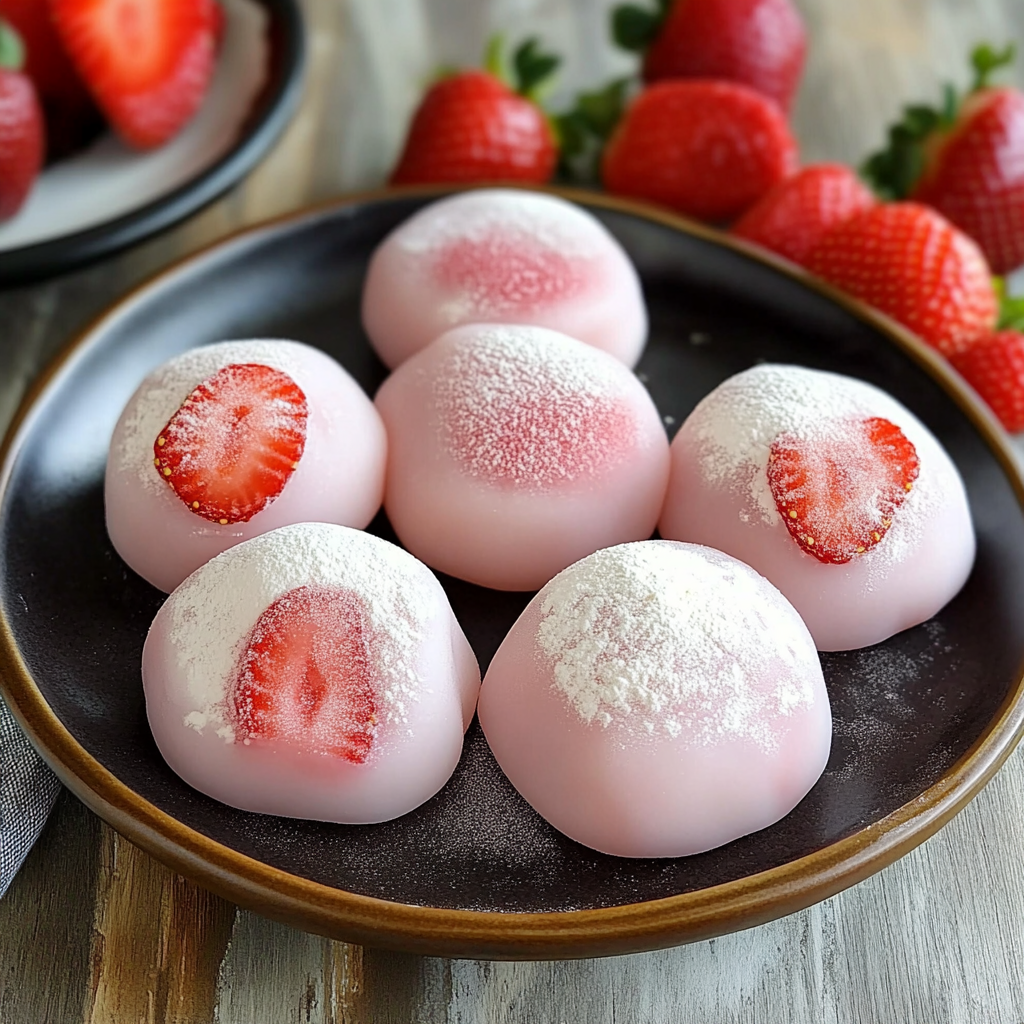
- Stabilizing the cream will help the center support the skin and keep the round shape when sliced or photographed.
- Freezing briefly after assembly improves texture and prevents the cream from oozing when cut.
My favorite part of this process is how versatile it is. Once you master the stretch and the toothpick test you can play with different fillings like matcha cream or azuki paste. Watching family and friends bite into a perfectly round mochi and react to the creamy, fruity center is one of the most satisfying parts of sharing this recipe.
Storage Tips
Store finished pieces in a single layer in an airtight container in the freezer and separate layers with parchment paper to prevent sticking. For best texture keep them no longer than seven days. To serve remove from the freezer and let sit at room temperature for about twenty minutes. If you plan to refrigerate for short term serving, expect the skin to remain soft for up to forty eight hours when butter is used. Avoid keeping at room temperature for extended periods to prevent cream spoilage.
Ingredient Substitutions
If you need dairy free options substitute coconut oil for the butter and use coconut cream or a non dairy stabilized whipped cream for the filling. If you do not have strawberries you can replace them with raspberry or mango puree for a different pink or orange hue, adjusting sugar for fruit sweetness. To make a white skin skip the strawberry puree and use one cup plus two tablespoons milk instead of the strawberry milk mixture. For a gluten free warning note that sweet rice flour is naturally gluten free, but check for cross contamination on the label.
Serving Suggestions
Serve these as a dessert at the end of a light meal, or present them on a small platter with edible flowers for a tea service. They pair beautifully with green tea or light sparkling sake. Garnish with a tiny slice of fresh strawberry for color contrast. They make delightful individual gifts when wrapped in small boxes cushioned with parchment.
Cultural Background
Mochi has long held a place in Japanese cuisine as a chewy treat made from sweet rice. This version is a modern take, blending classic mochi technique with Western style whipped cream and jam fillings. The combination of soft rice skin and creamy center is not traditional but reflects contemporary fusion desserts popular in patisseries and home kitchens alike.
Seasonal Adaptations
In spring use the ripest local strawberries for the brightest color and flavor. In winter use frozen berries that have been fully thawed and drained, adjust sugar to compensate for lower fruit sweetness. For holidays consider adding a teaspoon of citrus zest to the filling or folding matcha powder into the dough for an earthier, seasonal profile.
Meal Prep Tips
To meal prep, make the dough and whipped cream in separate stages. Keep the whipped cream chilled and assemble before freezing. You can freeze unfilled dough portions briefly to make handling easier, then thaw slightly to flatten and fill. Label containers with date and contents so you use the oldest batch first.
These mochi are designed to be approachable, visually striking, and satisfying to make. Try them the first time exactly as written, then experiment with fillings and flavors. Sharing them is half the joy, and they almost always disappear quickly at my table.
Pro Tips
Toast a portion of the sweet rice flour to use for dusting; it prevents stickiness without affecting taste.
Chill and stabilize the whipped cream so the filling supports the skin and holds a round shape.
If the dough is too sticky, refrigerate for 10 to 15 minutes then continue kneading to avoid over adding dusting flour.
This nourishing strawberry mochi (ms shi and mr he inspired pink mochi) recipe is sure to be a staple in your kitchen. Enjoy every moist, high protein slice — it is perfect for breakfast or as a wholesome snack any time.
FAQs about Recipes
How do I know when the mochi dough is fully cooked?
If the toothpick comes out wet, the dough needs another 30 seconds in the microwave or more time steaming until the tip is dry.
How long should I thaw the mochi before serving?
Thaw at room temperature for about 20 minutes for the best chewy skin and creamy center.
Tags
Strawberry Mochi (Ms Shi and Mr He Inspired Pink Mochi)
This Strawberry Mochi (Ms Shi and Mr He Inspired Pink Mochi) recipe makes perfectly juicy, tender, and flavorful steak every time! Serve with potatoes and a side salad for an unforgettable dinner in under 30 minutes.
Ingredients
Mochi skin
Filling
For dusting
Instructions
Toast flour for dusting
Toast about 1/4 cup of sweet rice flour in a dry pan over medium heat for five minutes while whisking constantly until fragrant. Cool on a plate to use for dusting and to prevent stickiness.
Prepare stabilized whipped cream
Chill the mixing bowl and beaters, add cream and sugar, then beat until stiff peaks form. For extra stability, incorporate a small amount of gelatin following a standard stabilization method. Keep the whipped cream chilled or in the freezer briefly before assembling.
Combine dry ingredients
In a microwave safe container mix three quarter cup plus two tablespoons sweet rice flour with four tablespoons cornstarch so the dry ingredients are evenly combined.
Puree strawberries and milk
In a blender combine half cup diced strawberries, one third cup plus two teaspoons milk, and three tablespoons sugar. Blend until perfectly smooth to avoid seeds and fruit chunks.
Cook the dough
Pour the strawberry milk into the dry mix and stir until a thick yogurt like texture is achieved. Cover with microwave safe wrap and poke small holes. Microwave for three minutes, test with a toothpick, and continue in thirty second intervals until the toothpick comes out dry. Alternatively steam for thirty minutes over high heat.
Add butter and knead
Place one and a half tablespoons butter onto the hot dough so it melts. Using lightly buttered hands or gloves knead until the butter is absorbed. Continue kneading for about five minutes until the dough stretches to about ten inches without tearing.
Portion and dust
Transfer the dough to a surface dusted with toasted sweet rice flour. Divide into eight equal portions and flatten each into a four inch circle using lightly floured hands or a wrapped rolling pin.
Fill and seal
Place a mochi skin on a small ladle or bowl, add two tablespoons whipped cream and one tablespoon jam to the center, then gather the edges and seal firmly to enclose the filling.
Chill before serving
Place the finished pieces in the freezer for twenty minutes to set. Serve after a short thaw so the skin is soft and the center is creamy.
Last Step: Please leave a rating and comment letting us know how you liked this recipe! This helps our business to thrive and continue providing free, high-quality recipes for you.
Nutrition
Did You Make This?
Leave a comment & rating below or tag
@kitchenfunwithmy3sons on social media!
Categories:
You might also like...
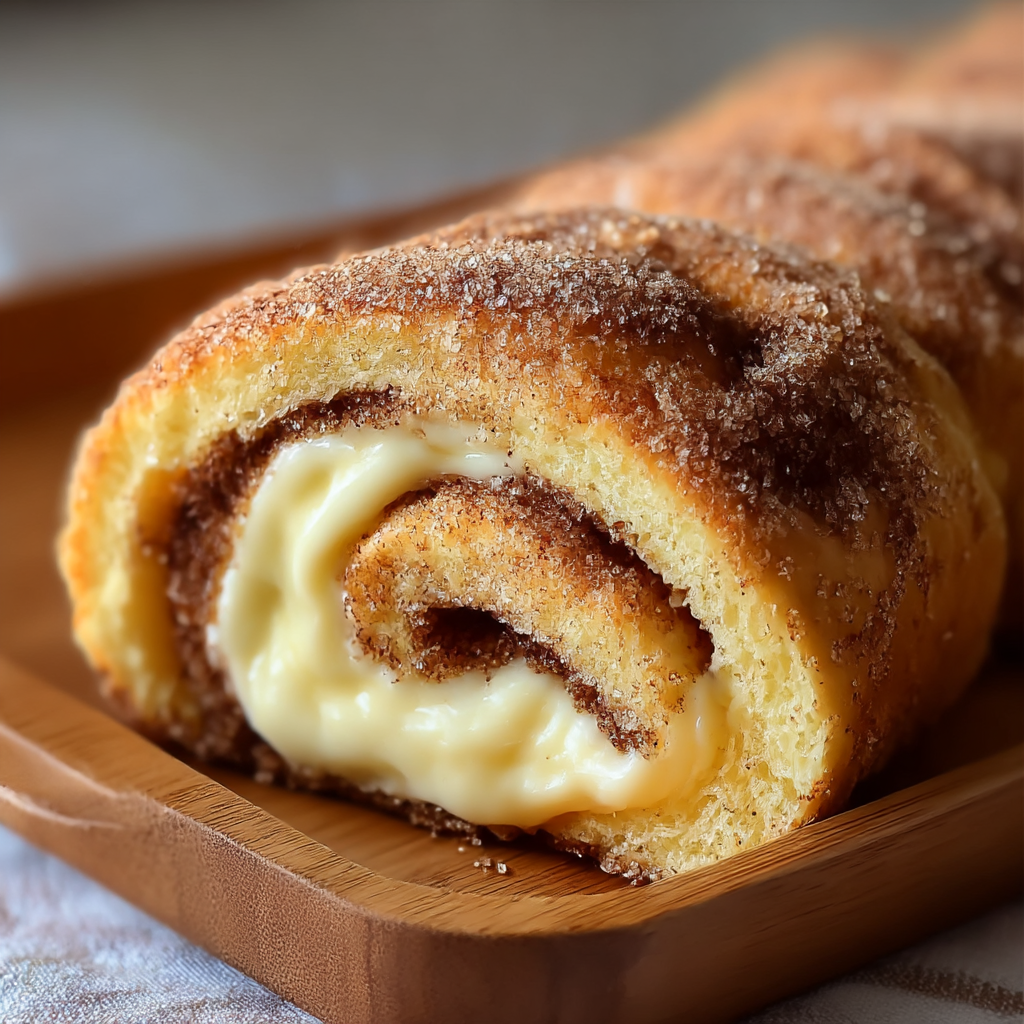
Cinnamon Sugar Cream Cheese Rolls
Buttery pastry envelopes a sweet, creamy cinnamon filling for an irresistible warm dessert or snack—ready in just 30 minutes.

Pineapple Chicken Rice
A bright, one-skillet meal that pairs sweet pineapple with savory chicken and fluffy jasmine rice for an easy, dairy-free weeknight dinner.
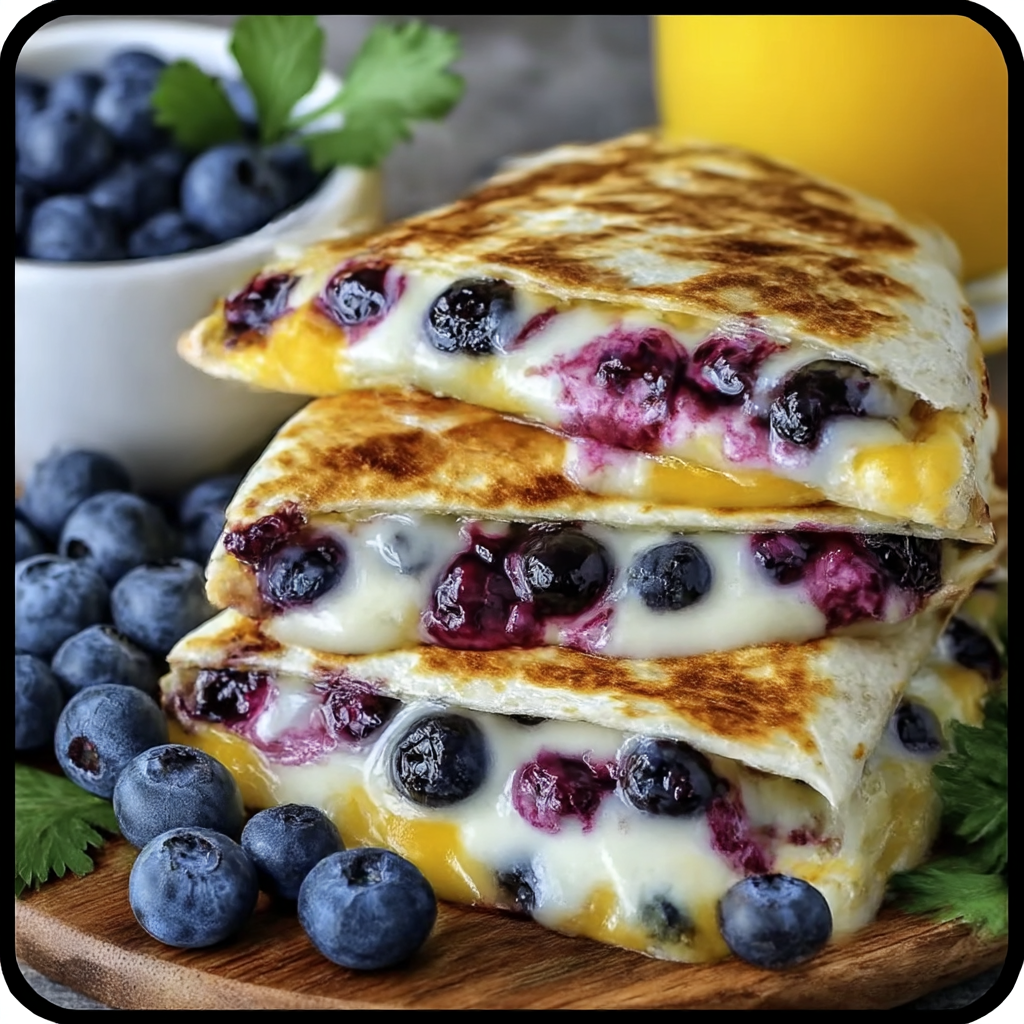
Blueberry Breakfast Quesadilla
Warm tortilla filled with creamy sweetened cream cheese, fresh blueberries and a drizzle of honey—an easy, satisfying morning treat ready in minutes.
Did You Make This?
Leave a comment & rating below or tag @kitchenfunwithmysons on social media!
Rate This Recipe
Share This Recipe
Enjoyed this recipe? Share it with friends and family, and don't forget to leave a review!
Comments (1)
This recipe looks amazing! Can't wait to try it.
Comments are stored locally in your browser. Server comments are displayed alongside your local comments.
Hi, I'm !
What's Popular

Get My 30-Minute Meals email series!
Quick and easy dinner ideas delivered to your inbox.