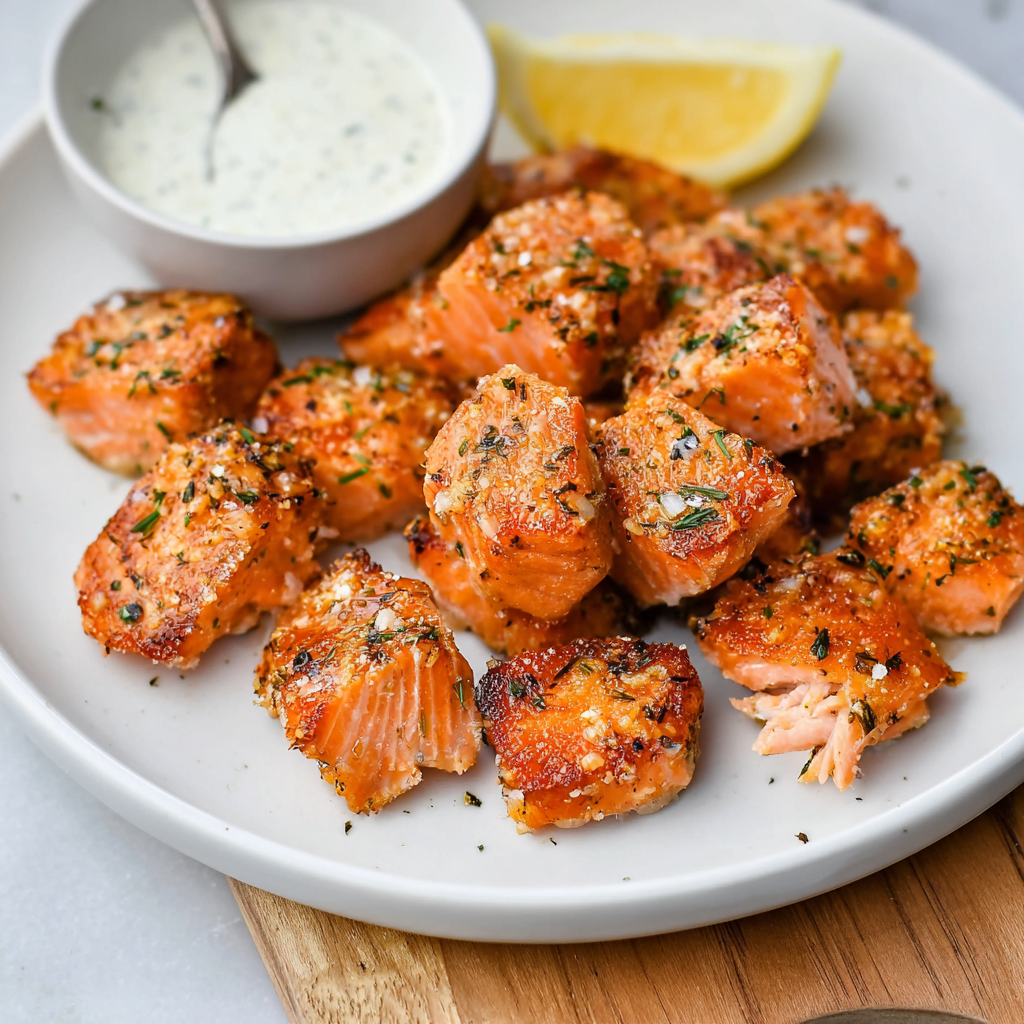
Red Velvet Brownies

Perfectly fudgy red velvet brownies topped with cream cheese frosting — rich, tender, and surprisingly simple to make.
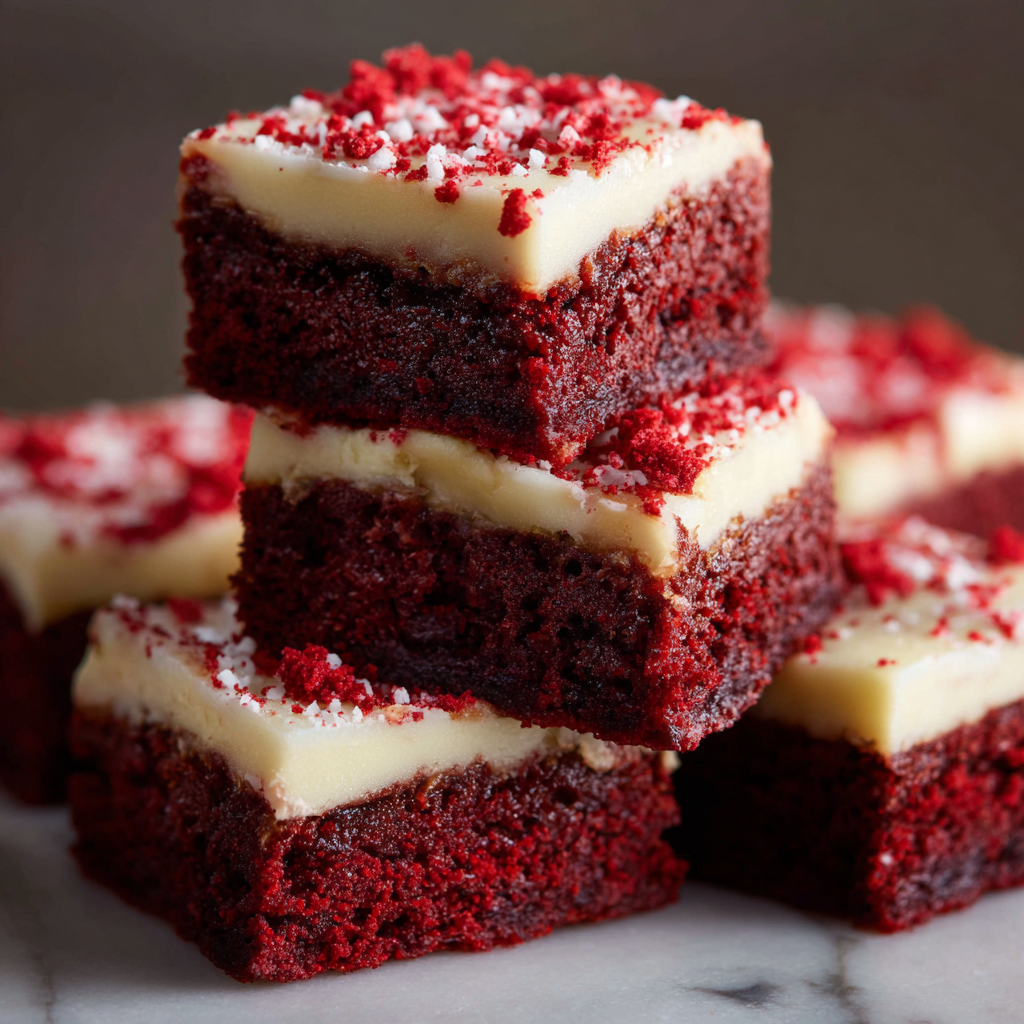
This recipe for Red Velvet Brownies has been my go-to when I want something that feels indulgent but doesn’t require a full day in the kitchen. I first developed this combination of a dense, fudgy brownie base with a tangy cream cheese topping on a rainy afternoon when I had a jar of red gel coloring and a craving for something festive. The contrast between the deep chocolate notes from the cocoa and the slight tang and sweetness of the frosting is what makes these stand out — they’re not too sweet, and they hold together beautifully when sliced, which makes them ideal for sharing at potlucks or for an easy holiday tray.
What I love most about these is how reliably they turn out when you follow a few key techniques: do not overmix the batter, gently incorporate the red coloring so you don’t deflate the batter, and allow the brownies to cool fully before frosting so you get clean slices. I often make a double batch for gatherings because they vanish fast — friends always ask for the recipe. The texture is fudgy rather than cakey, with a glossy top and a tender crumb that yields to a creamy swirl of frosting. These brownies bring the best of two worlds: the intensity of chocolate and the creaminess of classic red velvet.
Why You'll Love This Recipe
- Ready in just 40 minutes from start to finish, making it perfect for last-minute celebrations or an afternoon bake when you want a show-stopping treat without fuss.
- Uses pantry staples like cocoa, flour, and sugar with simple add-ins; you don’t need exotic ingredients to produce bakery-quality results at home.
- Fudgy, not cakey: careful mixing and the addition of oil help create a dense, rich texture that stays moist for days when stored properly.
- Versatile: skip the white chocolate chips or add them for bursts of sweetness — either way these hold up well as slices or squares for serving.
- Make-ahead friendly: you can bake a day ahead, frost the next day, and keep them chilled until serving to save time on party day.
- Kid-friendly and crowd-pleasing — the vivid red color and cream cheese frosting make these a favorite for birthdays and holidays.
In my own kitchen these brownies have become synonymous with simple celebrations. I remember baking a tray the night before a family brunch; by morning there were already sticky fingerprints on the edges. My partner loves that they’re not overly sweet and that the frosting is tangy enough to balance the sugar. Over time I refined the steps so even nervous bakers can produce consistent results.
Ingredients
- Unsalted Butter: Use 3/4 stick (6 tablespoons) melted for the batter and 3/4 stick softened for the frosting. Quality matters — I like Plugrá or Kerrygold for flavor. Butter brings richness and helps create the glossy top on the brownies.
- Granulated and Light Brown Sugar: 1 cup granulated plus 1/4 cup light brown sugar. The brown sugar adds a subtle molasses note and chewiness, while the white sugar keeps the texture balanced.
- Eggs: 3 large eggs plus 1 egg yolk. These provide structure and tenderness; the extra yolk enhances fudginess without making the crumb dry.
- Vanilla Extract: 1 teaspoon. Use pure vanilla for depth — it brightens chocolate and harmonizes with the cream cheese frosting.
- Vegetable Oil: 1/3 cup. Oil keeps the interior soft and moist even after cooling; neutral oils like canola or sunflower work well.
- Cocoa Powder: 1/4 cup unsweetened cocoa. I recommend Dutch-processed for a rounder flavor, but natural cocoa will work if that’s what you have.
- All-purpose Flour: 3/4 cup. Measure by spooning into the cup and leveling off to avoid overpacking — too much flour makes brownies cakey.
- Vinegar & Cornstarch: 1 tablespoon vinegar and 1 tablespoon cornstarch. Vinegar enhances the classic red velvet tang and lifts the color; cornstarch tenderizes the crumb.
- Salt & Red Food Coloring: 1/4 teaspoon salt and 1/2 teaspoon gel red food coloring for vivid color without adding too much liquid.
- White Chocolate Chips (optional): 3/4 cup for pockets of sweetness — optional but delicious melted into the batter.
- Cream Cheese Frosting: 4 oz cream cheese, 3/4 stick unsalted butter softened, 4 cups powdered sugar, and 1 teaspoon vanilla. Full-fat cream cheese gives the best texture and tang.
Instructions
Prepare the Pan and Oven: Line an 8-inch square pan with parchment, leaving an overhang for easy removal. Preheat the oven to 350°F (180°C). Using the correct pan size ensures proper thickness; too large a pan will produce thinner, faster-baking bars. Melt the Butter: Gently melt 3/4 stick (6 tablespoons) butter in 20–30 second bursts in the microwave, stirring between intervals so it doesn’t scorch. Let it cool briefly before adding to sugars — very hot butter can cook the eggs if added immediately. Mix Sugars and Fat: Whisk together 1 cup granulated sugar and 1/4 cup light brown sugar, then add the melted butter and whisk until combined. This step dissolves some sugar and helps create a smooth batter base without incorporating air, which keeps the brownies dense. Add Eggs and Flavor: Whisk in 3 large eggs, 1 egg yolk, and 1 teaspoon vanilla until combined. Mix gently — avoid whipping air into the batter as aeration leads to a cakier texture. Incorporate Oil and Cocoa: Add 1/3 cup vegetable oil and 1/4 cup cocoa powder, whisking until smooth. The cocoa dissolves into the fat for an even chocolate flavor; be patient and scrape the sides. Color the Batter: Spoon a few tablespoons of batter into a small bowl and stir in 1/2 teaspoon gel red food coloring until smooth. Add the colored portion back into the main bowl and fold gently with a spatula, maintaining as little air as possible. Fold in Dry Ingredients: Switch to a rubber spatula and fold in 3/4 cup flour, 1 tablespoon cornstarch, and 1/4 teaspoon salt until no streaks remain. Overfolding activates gluten — stop once incorporated. Add Vinegar and Mix-ins: Stir in 1 tablespoon vinegar. If using, fold in 3/4 cup white chocolate chips. Vinegar reacts subtly with the batter to enhance the classic tang and color depth. Bake and Cool: Pour batter into the prepared pan and bake 20–25 minutes, or until a skewer inserted comes out with moist crumbs attached. Avoid baking until fully dry — underbaking slightly yields a fudgier center. Cool completely before frosting.Make the Cream Cheese Frosting: Beat 4 oz room-temperature cream cheese with 3/4 stick softened butter until smooth. Add 4 cups powdered sugar gradually, then beat on medium-high until light and fluffy. Stir in 1 teaspoon vanilla. Spread evenly over cooled brownies and chill for 15–30 minutes to set before slicing.
You Must Know
- These keep well refrigerated for up to 4–5 days; wrap tightly or store in an airtight container to prevent the frosting from absorbing fridge odors.
- The bars freeze beautifully — wrap individual slices in plastic and freeze for up to 3 months. Defrost in the refrigerator overnight and bring to room temperature before serving.
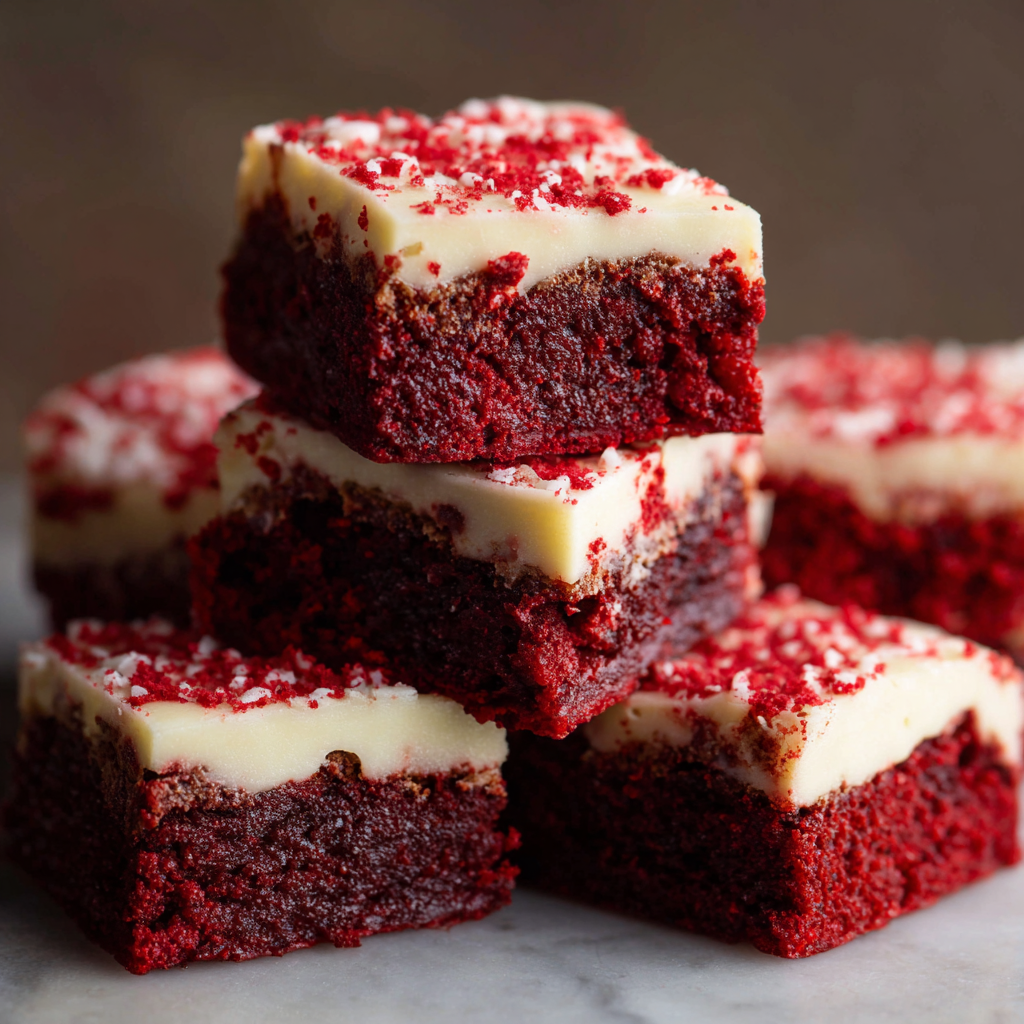
- Because these are fudgy, they set as they cool. Resist the urge to frost while warm or the frosting will melt and smear.
- For cleaner slices, chill for 20–30 minutes after frosting and use a knife dipped in hot water and wiped dry between cuts.
My favorite part is watching how the color deepens as the brownies rest — the red becomes richer, and the flavor melds. Family members often comment that the brownies taste even better the next day when the crumb has fully settled and the frosting has mellowed slightly. Over years of testing, these small timing adjustments made the biggest difference to texture and sliceability.
Storage Tips
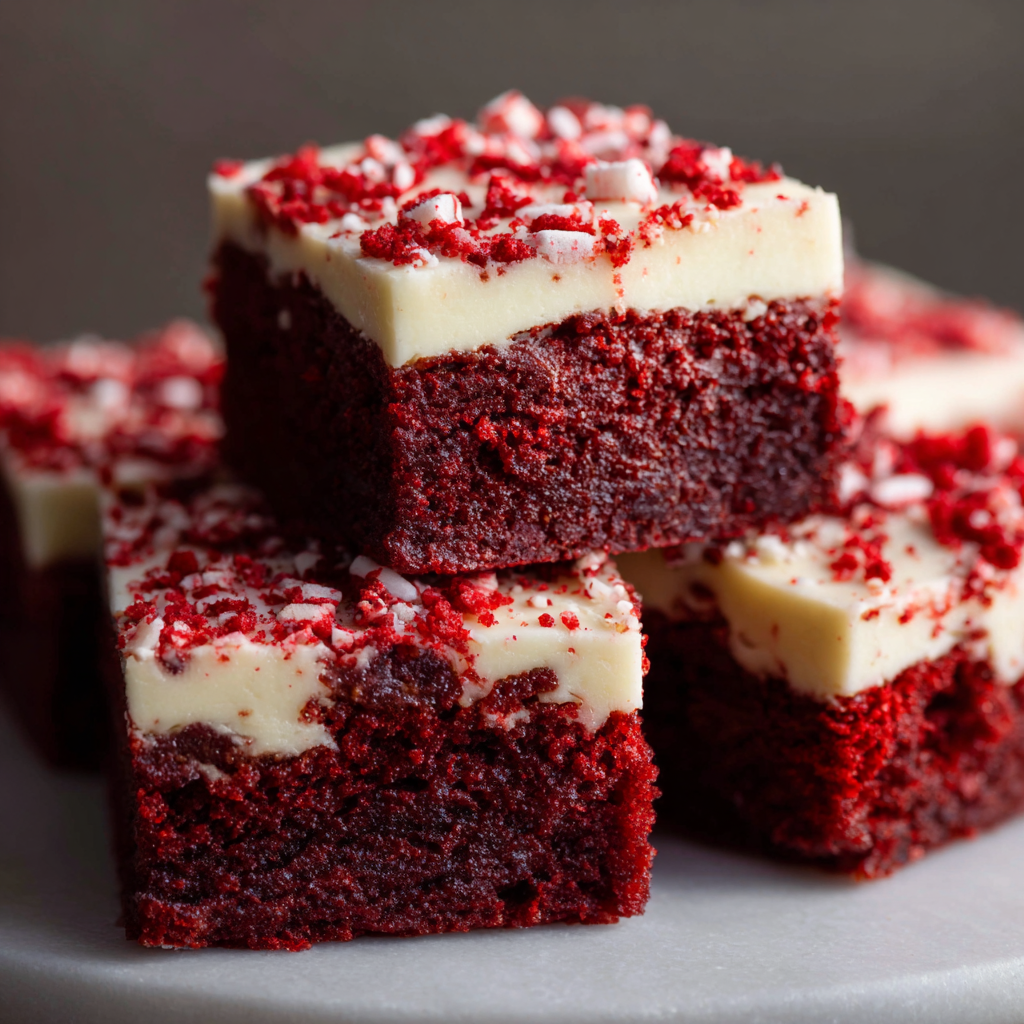
Store frosted squares in a single layer in an airtight container in the refrigerator for up to 4–5 days. If stacking is necessary, separate layers with parchment paper to preserve the frosting finish. For longer storage, freeze unfrosted bars wrapped tightly in plastic and foil for up to 3 months; frost after thawing for best texture. When you’re ready to serve frozen slices, transfer to the fridge overnight, then bring to room temperature for 30–60 minutes so the flavors bloom and the frosting softens slightly.
Ingredient Substitutions
If you prefer less red food coloring, use 1/4–1/3 teaspoon of gel and accept a milder hue. Swap white chocolate chips for chopped dark chocolate for deeper chocolate notes — reduce chips to 1/2 cup if you like fewer pockets of sweetness. For a dairy-free version, use nondairy butter and vegan cream cheese; texture will be close but a little less rich. Gluten-free flour blends can replace all-purpose flour 1:1, but expect a slightly different crumb and possibly a modest change in bake time.
Serving Suggestions
Serve warm with a scoop of vanilla ice cream for a comforting dessert, or chill and accompany with fresh berries to cut the richness. For an elegant presentation, dust lightly with cocoa powder or shave a little white chocolate over the frosting. These are great at parties on a dessert platter or boxed individually for gifting. Pair with strong coffee or a milky latte to balance the creamy frosting.
Cultural Background
Red velvet has roots in early 20th-century American baking, with its iconic color and tang often attributed to the use of buttermilk and vinegar reacting with cocoa. While classic red velvet cake is associated with Southern kitchens and celebratory cakes, these bars borrow that flavor profile and condense it into a denser, brownie-like format. The cream cheese topping nods to the cake’s traditional pairing and gives the bars their signature tangy sweetness.
Seasonal Adaptations
For winter holidays, add a pinch of cinnamon and swap white chocolate chips for candied cranberries for a festive twist. In summer, top with a light lemon glaze instead of cream cheese for a brighter finish. For Valentine’s Day, pipe small rosettes of frosting and sprinkle with freeze-dried raspberry powder to amplify both color and aroma. These simple swaps let you adapt the basic batter to the season without changing the core technique.
Meal Prep Tips
Bake the bars two days ahead and refrigerate unfrosted; prepare the frosting the night before and keep it covered in the fridge. On the day of serving, bring frosting to room temperature and re-whip briefly to restore lightness before spreading. Cut into even squares using a ruler for uniform portions if packing lunches or assembling dessert boxes. Use parchment overhang to lift the entire slab for easier refrigeration, slicing, and storage.
These brownies have become a small ritual for me — a simple, reliable dessert that feels special whenever I make it. I encourage you to experiment with the optional chips and frosting thickness until you find the perfect balance for your household. Enjoy baking, and don’t be surprised if they become a repeat request at your table.
Pro Tips
Do not overmix the batter; fold dry ingredients gently to keep the texture fudgy rather than cakey.
Cool brownies completely before frosting to prevent melting and to achieve clean slices.
For neat slices, chill the frosted slab for 20–30 minutes and wipe your knife between cuts.
This nourishing red velvet brownies recipe is sure to be a staple in your kitchen. Enjoy every moist, high protein slice — it is perfect for breakfast or as a wholesome snack any time.
Tags
Red Velvet Brownies
This Red Velvet Brownies recipe makes perfectly juicy, tender, and flavorful steak every time! Serve with potatoes and a side salad for an unforgettable dinner in under 30 minutes.

Ingredients
For the Red Velvet Brownies
For the Cream Cheese Frosting
Instructions
Prepare pan and preheat
Line an 8-inch square pan with parchment and preheat oven to 350°F. Proper pan size ensures correct thickness and baking time.
Melt butter and combine with sugars
Melt 3/4 stick butter in short bursts and whisk with granulated and brown sugars until combined. Cool slightly before adding eggs.
Add eggs and flavorings
Whisk in 3 eggs, 1 yolk, and 1 teaspoon vanilla gently to avoid incorporating air which would make the texture cakey.
Incorporate oil and cocoa
Stir in 1/3 cup vegetable oil and 1/4 cup cocoa until smooth, ensuring the cocoa is well dispersed for even flavor.
Color and fold in dry ingredients
Mix a small portion of batter with red food coloring, return to bowl, then fold in 3/4 cup flour, 1 tablespoon cornstarch, and 1/4 teaspoon salt until no streaks remain.
Add vinegar and optional chips
Stir in 1 tablespoon vinegar and fold in white chocolate chips if using. Vinegar enhances the red velvet tang.
Bake and cool
Bake for 20–25 minutes until a skewer shows moist crumbs. Cool completely before frosting to ensure clean slices.
Make frosting and frost
Beat cream cheese and butter until smooth, add powdered sugar gradually then beat until light. Spread over cooled brownies and chill briefly to set.
Last Step: Please leave a rating and comment letting us know how you liked this recipe! This helps our business to thrive and continue providing free, high-quality recipes for you.
Nutrition
Did You Make This?
Leave a comment & rating below or tag
@kitchenfunwithmy3sons on social media!

Categories:
You might also like...
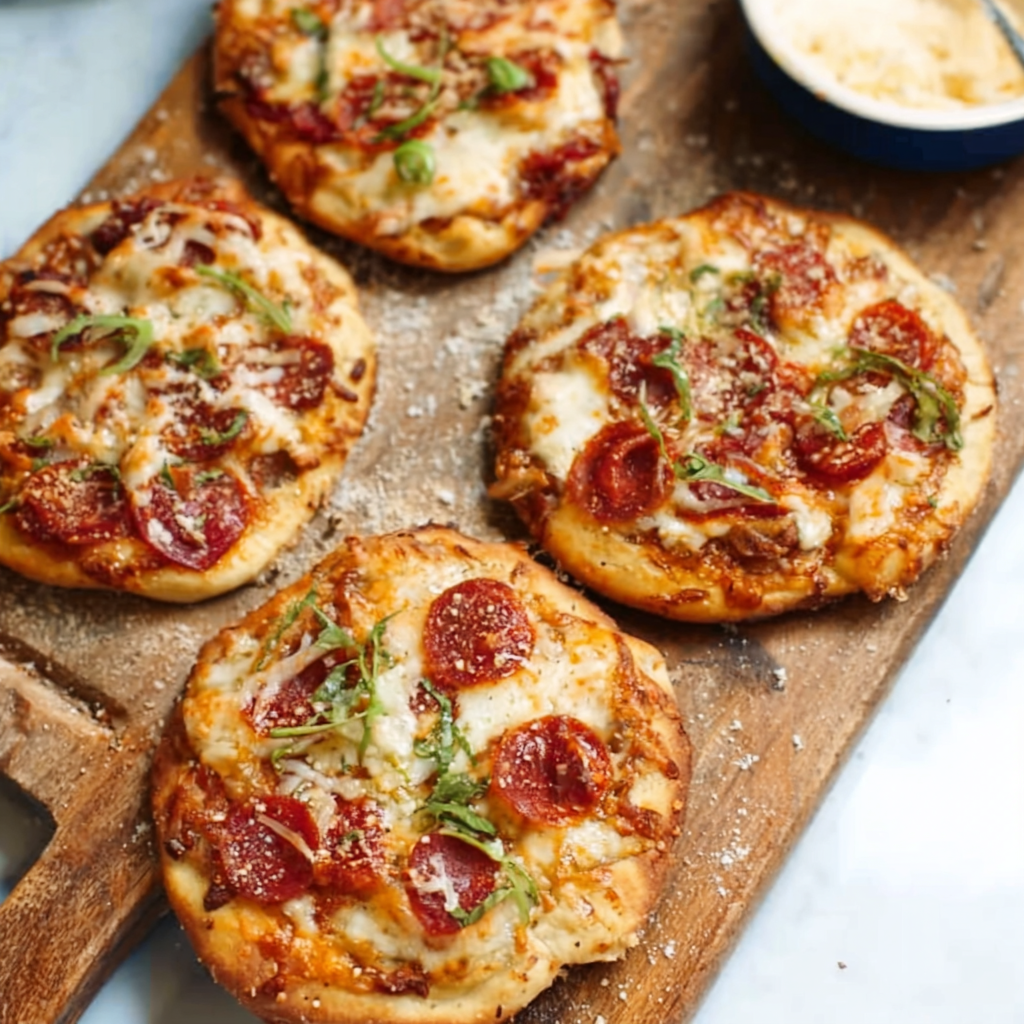
4-Ingredient Mini Pizzas
Quick and customizable mini pizzas made with refrigerated biscuit dough — ready in 20 minutes and perfect for weeknights, parties, and picky eaters.
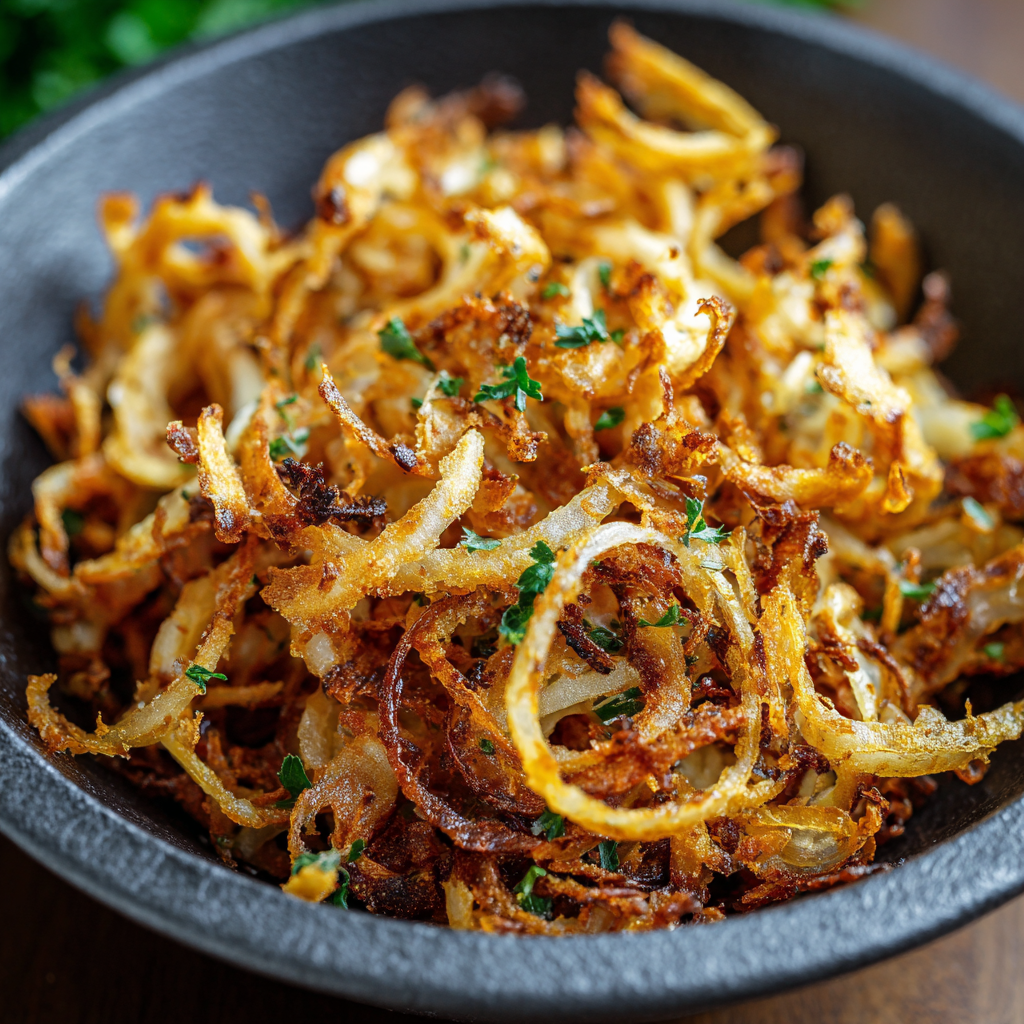
Air Fried Crispy Onion
Crispy caramelized onion rings made in the air fryer with just a touch of oil—perfect as a topping, snack, or crunchy condiment.
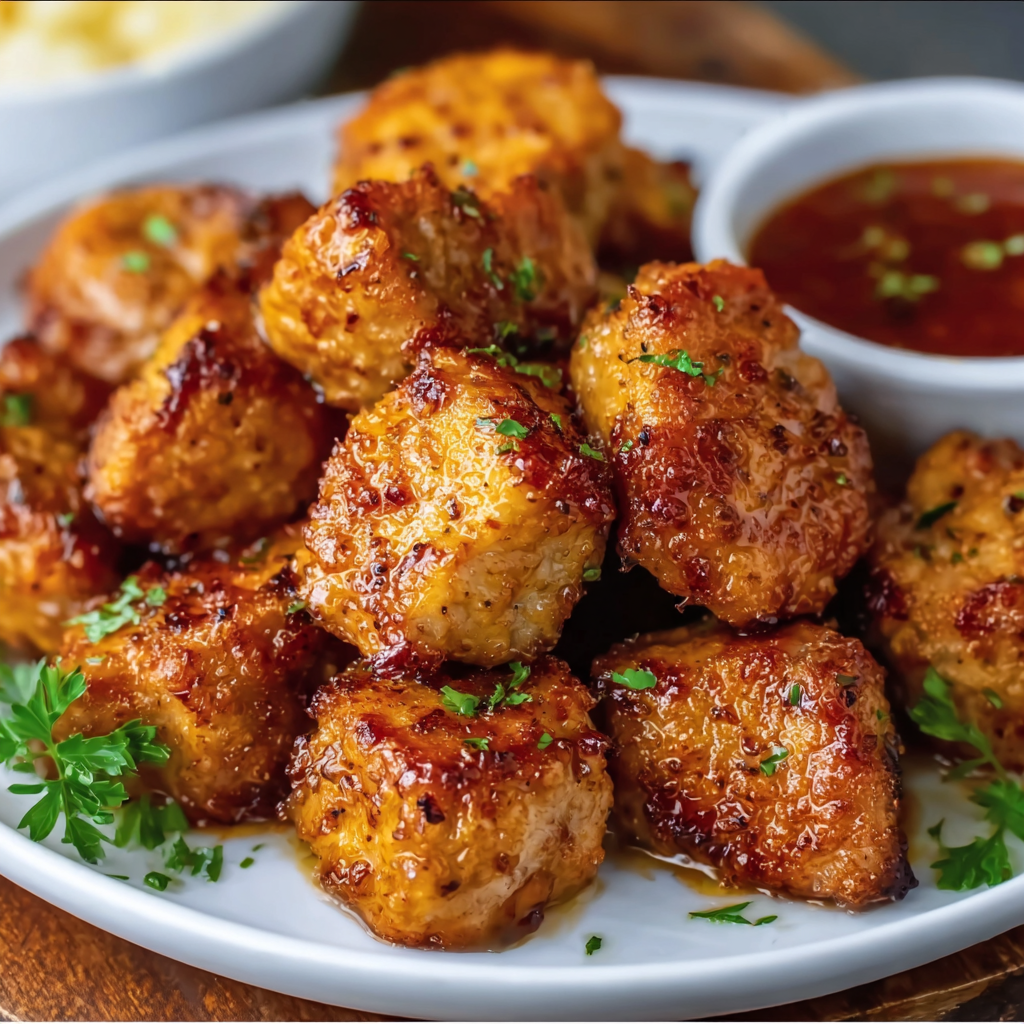
Air Fryer Pork Chop Bites
Tender, juicy pork chop bites tossed in olive oil and Worcestershire, seasoned with smoked paprika and garlic. Ready in 20 minutes in the air fryer—perfect for quick weeknight dinners.

Did You Make This?
Leave a comment & rating below or tag @kitchenfunwithmysons on social media!
Rate This Recipe
Share This Recipe
Enjoyed this recipe? Share it with friends and family, and don't forget to leave a review!
Comments (1)
This recipe looks amazing! Can't wait to try it.
Comments are stored locally in your browser. Server comments are displayed alongside your local comments.
Hi, I'm !
What's Popular
Get My 30-Minute Meals email series!
Quick and easy dinner ideas delivered to your inbox.

